Surface Finishing Tungsten Carbide
Tungsten carbide, a material comprised of tungsten and carbon, is a popular choice for manufacturing a wide range of tools and components due to its high hardness, strength, and wear resistance. Precision surface finishing of tungsten carbide components is essential to ensure they perform optimally and deliver the desired results. Tungsten carbide is already known for its exceptional wear resistance, but precision surface finishing can enhance this property even further. By achieving a precise, uniform surface finish, the component is less likely to experience premature wear or failure. This results in longer tool life and improved performance, reducing the need for frequent replacement and maintenance.
Precision surface finishing of tungsten carbide components results in a smoother surface, reducing friction and increasing the component's ability to perform as intended. This improved surface smoothness also helps to prevent the buildup of debris or other contaminants, reducing the potential for damage or malfunction. Tungsten carbide components are often used in applications where precise measurements and performance are essential. Precision surface finishing ensures that the component's surface is free from defects, such as cracks or burrs, and that its dimensions are consistent and accurate. This results in improved performance and reduced potential for error.
Precision surface finishing can also increase the surface hardness of tungsten carbide components, providing additional protection against wear and abrasion. This improved hardness ensures that the component will perform at its best, even in demanding applications, reducing the risk of premature failure. In addition to improving performance, precision surface finishing also enhances the aesthetic appearance of tungsten carbide components. A uniform, smooth surface finish provides a clean, professional look, improving the component's overall appearance and creating a positive impression.
Scope of Work: To lap Tungsten Carbide flat to 1-2 light bands
Equipment used:
- Kemet 36” lapping/polishing machine
- Kemet Iron lapping plate
- Kemet Flatness gauge
- 14 micron type k std
- Type OS lubricating fluid
- CO-42 cleaning fluid
- Profiled work holder
- Dycem faced pressure weight
Process breakdown
Five samples where placed inside a profiled work holder, a 36” pressure weight was placed on top. The parts were then cycled till they cleaned up with Kemet Iron lapping plate with 14 micron type k diamond slurry being dispensed at a rate of 2 seconds of diamond spray every 40 second and OS lubricating fluid at a rate of 2 seconds every 70 seconds.
Before Processing Tungsten Carbide
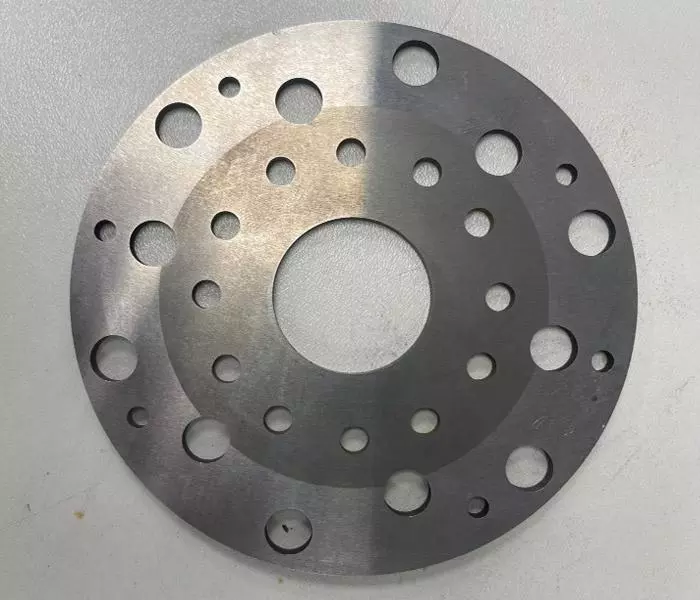
Workholding

After Processing Tungsten Carbide
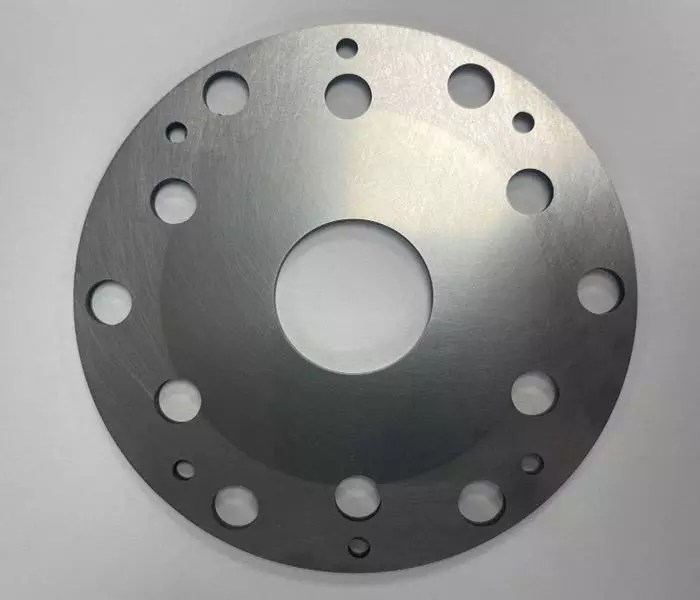
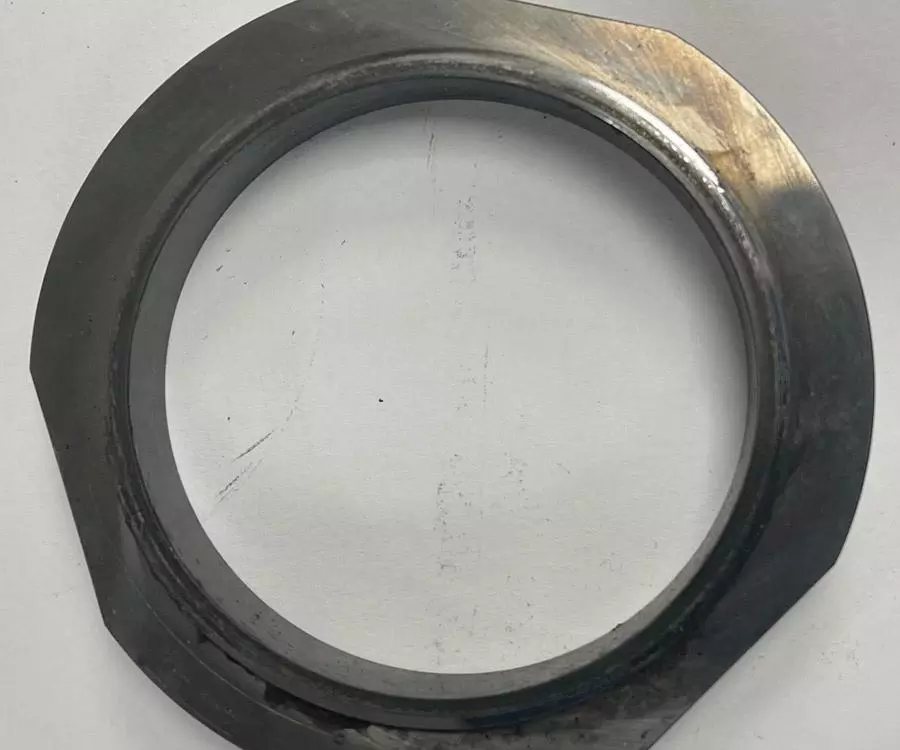
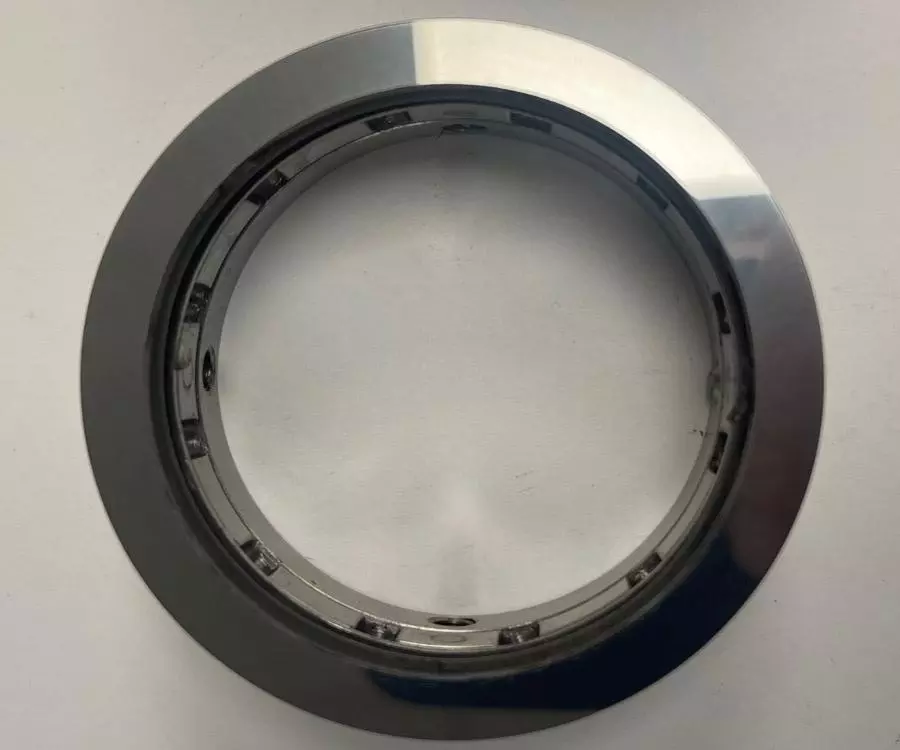
Scope of Work: To rework and lap flat 4 Tungsten Carbide Seal Faces
Equipment used:
- Kemet 15” lapping/polishing machine
- Kemet Copper SP2 lapping plate
- Kemet Flatness gauge
- 6 micron type k std
- CO-42 cleaning fluid
- Dycem faced pressure weight
Process breakdown for Tungsten Carbide Seals
The seal faces were placed centrally inside a 15” control ring on a Kemet copper SP2 lapping plate. A dycem faced hand weight was placed on top, this acts as a fixture to protect the parts. The machine was then cycled with 6 micron type k being dispensed at a ratio of 2 seconds of diamond spray every 45 seconds till each face had cleaned up. This process was repeated for all faces. Taken off and cleaned with CO42 cleaning fluid.
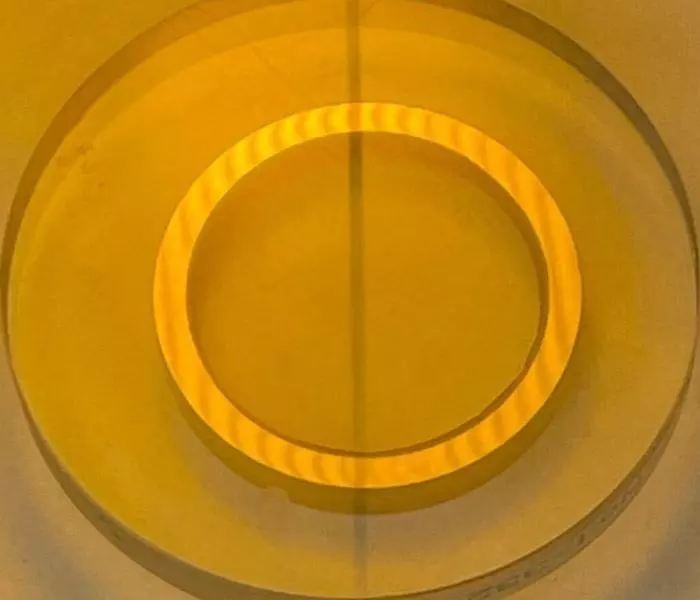
Before Processing Tungsten Carbide Seals
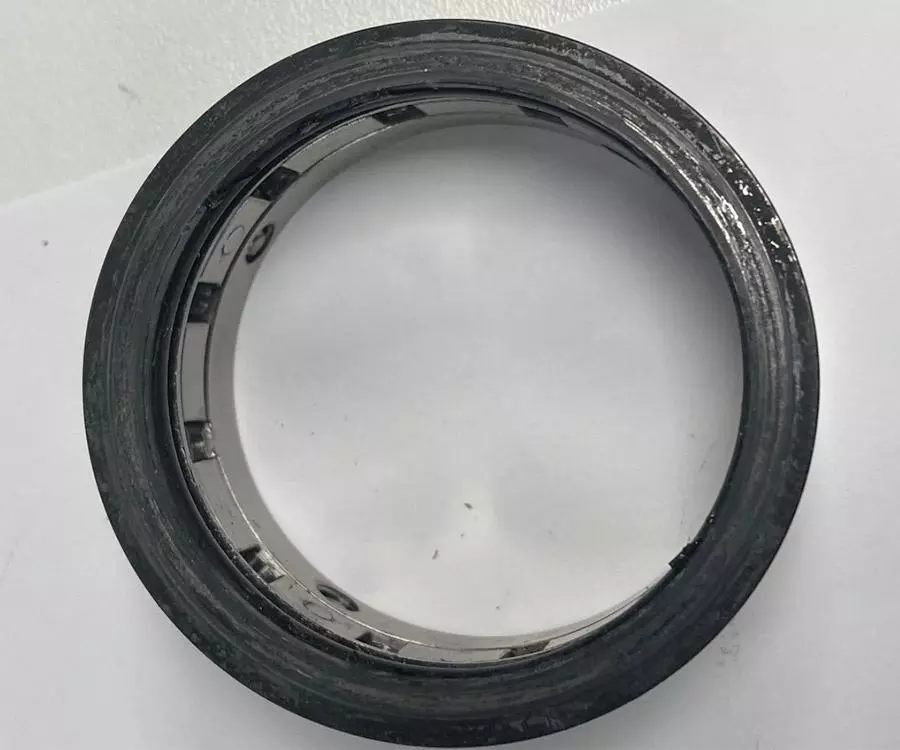
After Processing Tungsten Carbide Seals
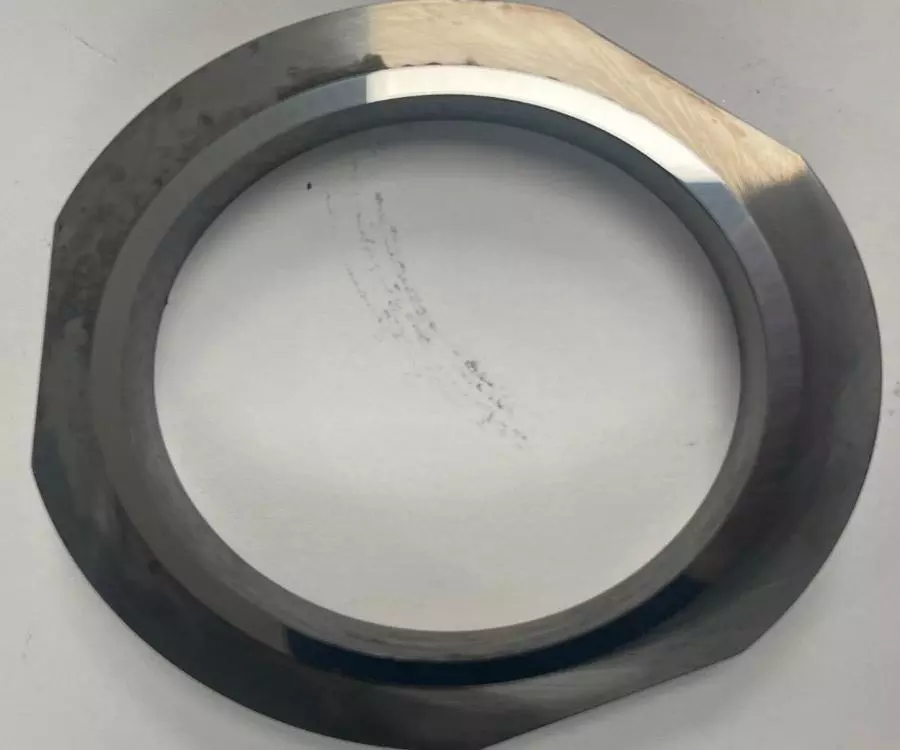
Scope of Work: To lap flat and remove wear marks from various sized Tungsten Carbide cutting tools
Stage 1 (Lap) Equipment used:
Process breakdown for surface finishing Tungsten Carbide cutting tools
The batched parts were spaced evenly inside a 15” machine control ring on a Kemet Iron lapping plate. A dycem faced pressure weight was placed on top, this acts as a fixture. The machine was then cycled with 6 micron type k being dispensed at a ratio of 2 seconds of diamond spray every 45 seconds till all the Tungsten Carbide faces had cleaned up. Took 15-20 minutes dependant on wear. Taken off and cleaned with CO42 cleaning fluid.
Flatness reading: 1 light band (0.00029mm)

Before Surface Finishing Tungsten Carbide

After Surface Finishing Tungsten Carbide
