Polishing Iron Bottle Moulds - Technical Article
Depending on the machined finish left in the mould, a general process would be: -
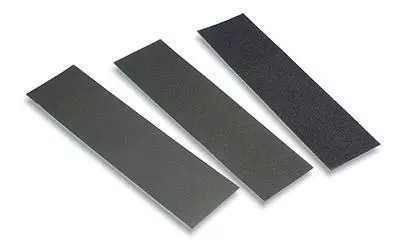
- Break the surface finish down using either Gesswein DF or Gesswein MF stones. The MF stones are a softer bond than the DF, which allows them to wear to the bottle mould contours the quickest; they also give a good finish in the Grit 600 grades. This initial breaking down stage can also be done with Kemet Abradiscs and Kemet Aluminium Oxide coated abrasive strip, but you will need to be extremely careful you do not remove too much material from the cavity, be especially careful around the mould joint face (Shut off face).
- The use of Kemet Wet and Dry papers for finishing the mould cavity is usually sufficient to produce an acceptable finish. Use Grit 600 or Grit 1200 as the final stage.
- Fine details such as embossed lettering and screw threads can be polished using the Xebec range of stones. Xebec stones do not chip or snap when formed to fine shapes and details.
Notes
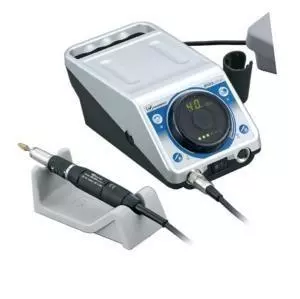
In general the power tools used for this work would be the NSK range of hand tools (Espert or E-Max) with a angled 45 degree head such as the EKC-300 (Espert) or the KC-300 (E-Max). These power tools and attachments work well for cavity work.
One area that needs great care is in the polishing of the shut of faces, as these have to match together when the mould is shut to avoid “split lines” showing on the final moulding.
There are various ways people use to minimise this problem - some leave extra material on the tool face that is machined off once the polishing is complete.
If this is not possible, sometimes a “fence” (extra material), is attached to the face in some fashion which is then machined and polished with the tool so that when it is removed you have a sharp edge. Again care needs to be taken regarding the amount of material removed to prevent a miss matched join.
Should you require higher surface finishes or the Mould cavity has been produced using the EDM process, the following can be used as a general guide to the polishing process.
- Stone out the hardest and worst of the EDM burn with a Gesswein EDM 320 grit stone.
- Finish stoning out the pits with a Gesswein OT 400 stone.
- Cross stone the OT 400 grit with a Gesswein MF 600 Grit stone.
- Cross with Grit 600 wet / dry paper. In some instances you can then use Grit 1,200 wet / dry paper.
- Using Rotary Felt Bobs or Cup Brushes with Kemet Diamond Compound 6-KD-C2, polish the surface avoiding excessive speed and temperatures
- Hand rub with a Felt Bob or Felt Rectangular Kemet Diamond Compound 6-KD-C2 in one direction
- Check for scratches. Go back to the fine Wet / Dry paper stage (step 4: Grit 1,200). If the scratches will not polish out with the Kemet Diamond Compound 6-KD-C2, severe scratches will have to be stoned out using soft Grit 600 stones or finer.
- Same as step 6 but using Kemet Diamond Compound 3-KD-C2.
- Clean with Kemet cleaning fluid, CO-42.
Note:
It is important to keep cross contamination between different Diamond Compounds to a minimum with thorough cleaning between Diamond Compound grades. Also avoid high speeds which produce high temperatures especially with the felt bobs.
These are generalised processes that give a guideline as to how to approach the subject of mould polishing, you will find that once you have polished a number of tools you will adapt the process to your own requirements, but the basic principles will remain.